This page was written for Mint Linux 14 (Cinnamon). It should apply equally to Ubuntu distributions around the 12 era. This guide is opposed to installing the standard suggested virtual-machine solution.
The Contiki Wiki has some very valuable information and is worth a look.
Download & Extract Contiki Source
The first thing to do is to start downloading Contiki. The Contiki-OS Download Page has a link to download Contiki source code. At the time of writing, Contiki2.6 was the latest. Direct link here (25MB).
Once it’s downloaded, you’ll have a ZIP file: contiki-2.6.zip in my case. The next thing to do is to extract this zip file, and put the contents into your home directory and rename the folder, removing the version number so that the files have the path ”/home/username/contiki. You can do this graphically, or you can do it with the terminal:
unzip contiki-2.6.zip
mv contiki-2.6 ~/
mv ~/contiki-2.6 ~/contiki
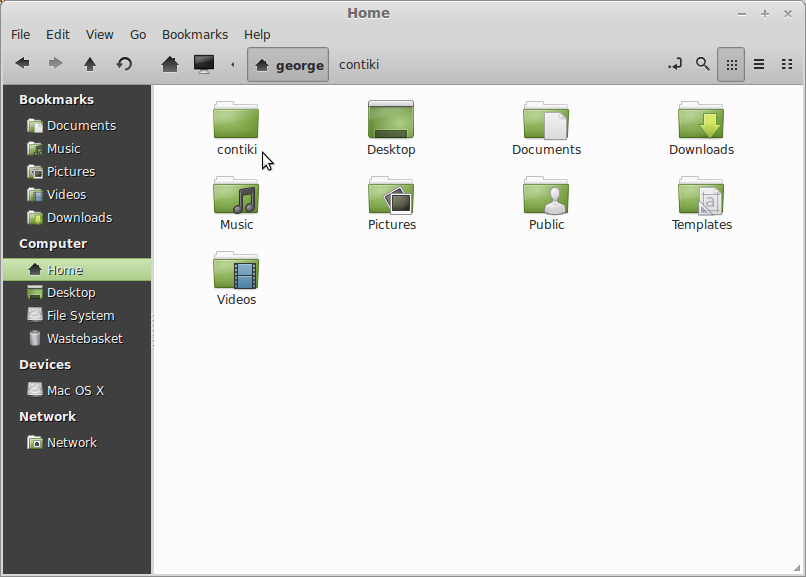
You should end up with the following in your home directory:
MSP430 Toolchain
The next thing to do is to install the MSP430 toolchain. If you’re running a newer Linux distribution which has these packages then you’re in for a quick and easy ride. See here for more information.
apt-get install binutils-msp430 gcc-msp430 msp430-libc msp430mcu mspdebug ant openjdk-7-jdk
If not, then my advice is to upgrade! Seriously. If you cannot/will not change, then check out these links:
- PPA repository for MSP430 Toolchain: https://launchpad.net/~cprov/+archive/msp430
- Fetch(); Decode(); Execute; Blog: http://recolog.blogspot.co.uk/2010/06/installing-contiki-and-cooja-simulator.html
Once you’re all done, check that the compiler is in the path and that it is all ready to go. I just confirm this by calling the compiler from the terminal with the version flag:
$ msp430-gcc -v
Using built-in specs.
Reading specs from /usr/lib/gcc/msp430/4.6.3/../../../../msp430/lib/msp430mcu.spec
COLLECT_GCC=msp430-gcc
COLLECT_LTO_WRAPPER=/usr/lib/gcc/msp430/4.6.3/lto-wrapper
Target: msp430
Configured with: ‘/build/buildd/gcc-msp430-4.6.3~mspgcc-20120406/./gcc-4.6.3/configure’ -v –enable-languages=c,c++
–prefix=/usr –infodir=’/usr/share/info’ –mandir=’/usr/share/man’ –bindir=’/usr/bin’ –libexecdir=’/usr/lib’ –libdir=’/usr/lib’
–build=x86_64-linux-gnu –host=x86_64-linux-gnu –target=msp430
Thread model: single
gcc version 4.6.3 20120301 (mspgcc LTS 20120406 unpatched) (GCC)
If you get something similar, then you’re ready to roll!
Compile an Example
So the next stage is to see if it’s working. Let’s compile an example. I created a folder in my home directory called contiki-test and then copied the LED fading example from the example/sky folder to the new test folder. The following commands should do this:
mkdir ~/contiki-test/
cp ~/contiki/examples/sky/rt-leds.c ~/contiki-test/
As well as the source file rt-leds.c you will also need to have the makefile. Mine is as follows; remember, that your username may be different from george:
CONTIKI=/home/george/contiki
include $(CONTIKI)/Makefile.include
Once you have that, you’re ready to try and compile it. Issue the command and hope there are no errors …
$ make rt-leds TARGET=sky
You’ll get lots of output from the compiler. Once it’s finished, you should have a file called rt-leds.sky. If so, then you’ve won!
Test Cooja
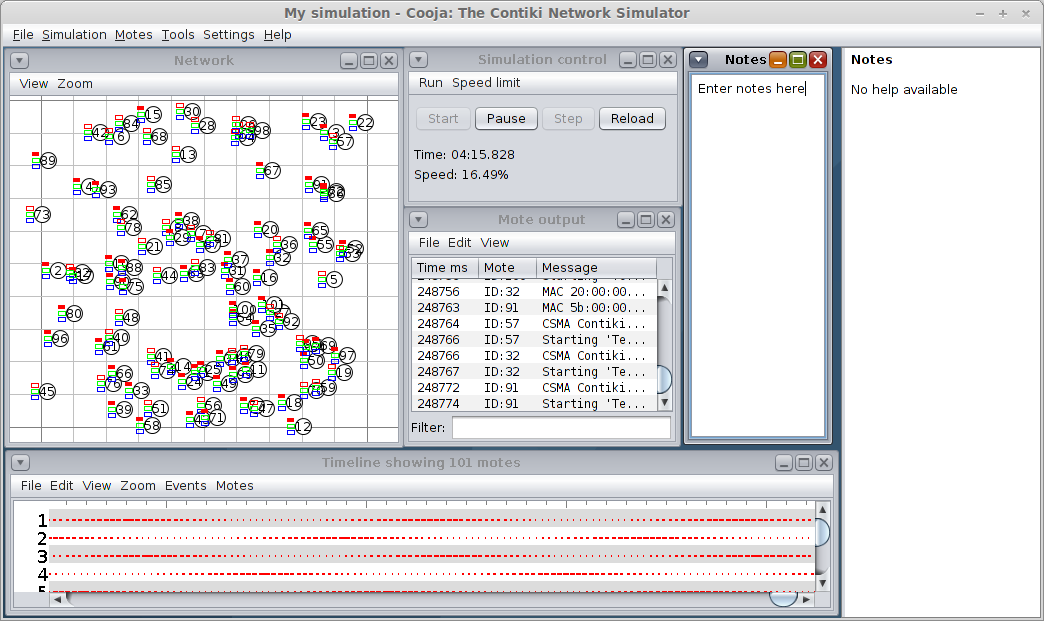
We’ll test the Cooja simulator too. My Contiki Cooja Simulator page has much more about Cooja on it.
cd ~/contiki/ant/cooja
ant run
MSPsim Simulator
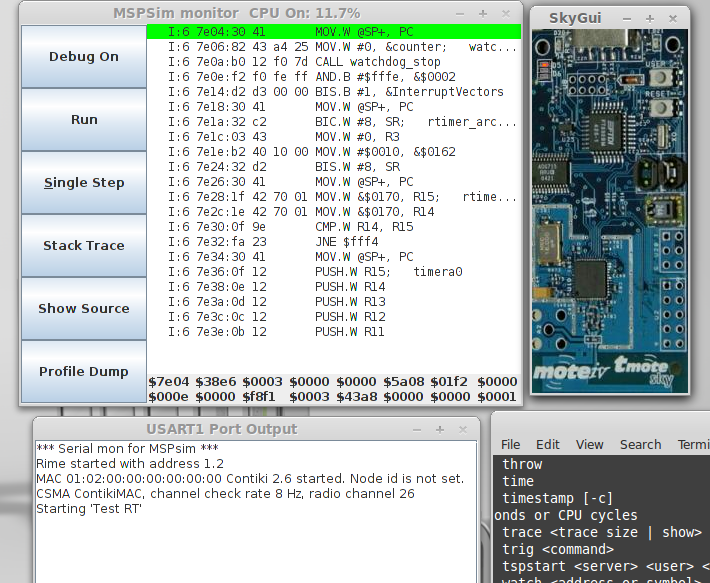
The last simulator to check is the MSP Simulator, and that is invoked like this:
make rt-leds.mspsim TARGET=sky
This offers simulation of a single node’s hardware, in contrast to Cooja’s network style simulation.
Errors I Found
relocation truncated to fit: R_MSP430_16_BYTE
This error is solved by editing contiki/cpu/msp40/Makefile.msp430 and removing the -g option from line 132, as described here.
Line 132 looses the -g option, changing from
CFLAGSNO = -Wall -mmcu=$(CC_MCU) -g $(CFLAGSWERROR)
to
CFLAGSNO = -Wall -mmcu=$(CC_MCU) $(CFLAGSWERROR)
Fixed the issue for me.
Other Stuff
This page just provides a few links and tips for anyone looking to get started with Contiki. Firstly, Contiki provides an instant environment which can be booted with a virtual machine and used. I wanted to have my environment run natively so I set about trying to work it out using Ubuntu. This process describes Ubuntu 10.04.3 LTS.
- I followed this page as a basic set of instructions:
- I used the toolchain from this page, and installed via PPA
- This page may also be of interest
Shortcuts & Links
#Sourcing the tinyos environment variable setup script
source /opt/tinyos-2.1.1/tinyos.sh#Setting up Contiki links
echo -n “Setting up for Contiki: ”
alias phd=’cd /home/george/Work/PhD/’
alias contiki=’cd /home/george/Work/PhD/Contiki/’
alias motelisten=’/home/george/contiki/tools/sky/serialdump-linux -b115200′
echo “OK”


