This page details how I made my Samsung Galaxy S2 USB JIG. This device lets you un-brick a dead SGS2 device by getting you into the download mode when the usual button combinations (Vol. Down + Home + Power) have failed. This jig can also be used to restore the flash counter. If when you connect the jig the phone states Factory Mode then you will need to flash an older boot-loader first.
Jayce Ooi’s webpage and video show how to use the Jig effectively. The comments on his page may also be of interest to you.
This page aims to explain how to make a jig; it does not go into how to use it.
Buying One
You can buy one on eBay: A quick eBay search for Samsung Galaxy S2 USB JIG should provide some results.
Making One
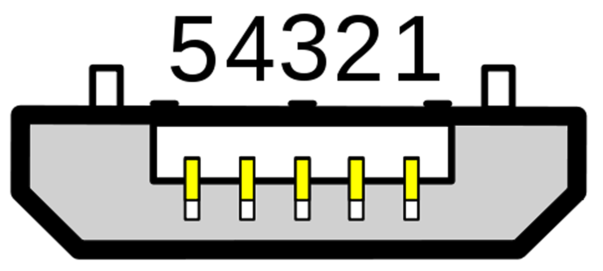
In simple terms, all the JIG does is present the phone a 300K![]() resistance between the ID (pin #4) and GND (pin #5) of the microUSB connector at the foot of the device.
resistance between the ID (pin #4) and GND (pin #5) of the microUSB connector at the foot of the device.
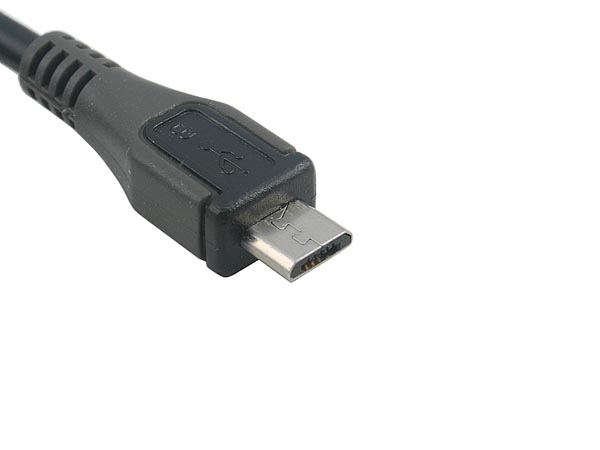
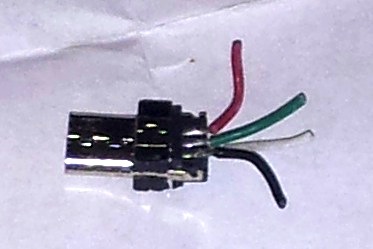
First of all, I had to acquire a microUSB connector to connect to the phone. You can buy these in electronics shops, or alternately as I did, butcher a microUSB cable – I used an old Nokia cable I had which didn’t work for data any more but still worked for charging (I assume one of the data wires had broken in the cable). Taking the microUSB end apart revealed a solderable end as you have were you to purchase a connector. Go slowly and carefully if you’re cutting, as you don’t want to destroy your connector.
 |
 |
As I didn’t have a 300K![]() resistor in my workshop, I used 3 x 100K
resistor in my workshop, I used 3 x 100K![]() resistors in series to add up.
resistors in series to add up.
After soldering the resistors in series, I slid some heat-shrink tube over the resistors to provide insulation and folded it into a ‘U’ shape to fit back to the connector.
I then soldered the resistors between pins #4 (ID) and #5 (Ground).
You could also add some heat-shrink around the entire thing to add physical strength to the JIG, but I wasn’t too concerned about this.


