This page assumes some basic familiarity with Linux. It assumes a clean install of Ubuntu 18.04 and installs Eclipse Photon. I install the CPP version, but you’re free to choose when the option presents itself!
Update the OS
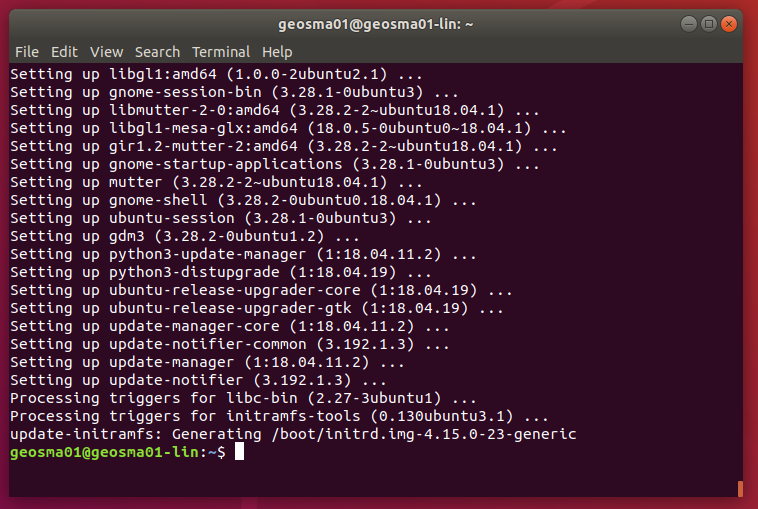
First thing to do is to update the operating system. This is easily achieved by running the following two commands:
sudo apt update
sudo apt upgrade
These commands may take a while to complete, depending on what there is to update and how fast your internet connection is.
Installing Java Development Kit (JDK) 8
Since Eclipse is written in Java, we will need the latest version. I’m not sure if the Java Runtime Environment (JRE) alone is enough, but I have installed the full JDK anyway.
Firstly we add the third party JDK PPA repository and update the package manger index
sudo add-apt-repository ppa:webupd8team/java
sudo apt update
Next we must actually install the JDK:
sudo apt install oracle-java8-installer
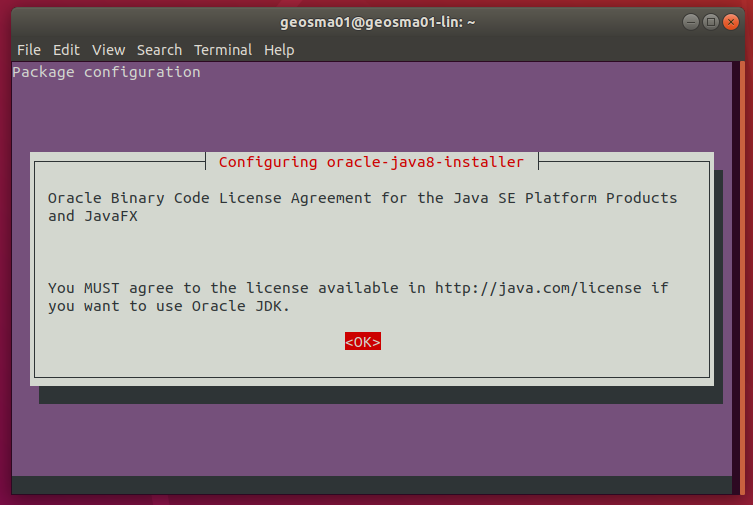
This will pull in a few extra packages, such as java-common, oracle-java8-set-default (which makes sure that this installed version of Java is the system default), font packages and so on. You’ll be guided through the Java 8 installation with an ncurses based installer:
You must accept the Oracle Binary Code licence. The download for Java 8-1u171 was 182 MB. To confirm the installer completed correctly, scroll up in the terminal window. You should see something explaining that the installation finished successfully. To confirm this, and check the version installed, you can run the following from the terminal:
javac -version
javac 1.8.0_171 [or similar result expected]
Installing Eclipse
The Eclipse installer can be found on the Eclipse project download page: https://www.eclipse.org/downloads/. At the time of writing, the Eclipse Photon installer was 45.9 MB. I downloaded it using the Mozilla Firefox browser, and saved the installer into my user’s download folder (/home/geosma01/Downloads/).
Once downloaded, switch back to your terminal program, and change directory into the downloads folder and extract the downloaded TAR/GZIP archive and change directory into it:
cd ~/Downloads/
tar xvfz eclipse-inst-linux64.tar.gz
We’re now ready to run the installer. If we change into the newly extracted folder and then run the installer, we should be good to go:
cd eclipse-installer
./eclipse-inst
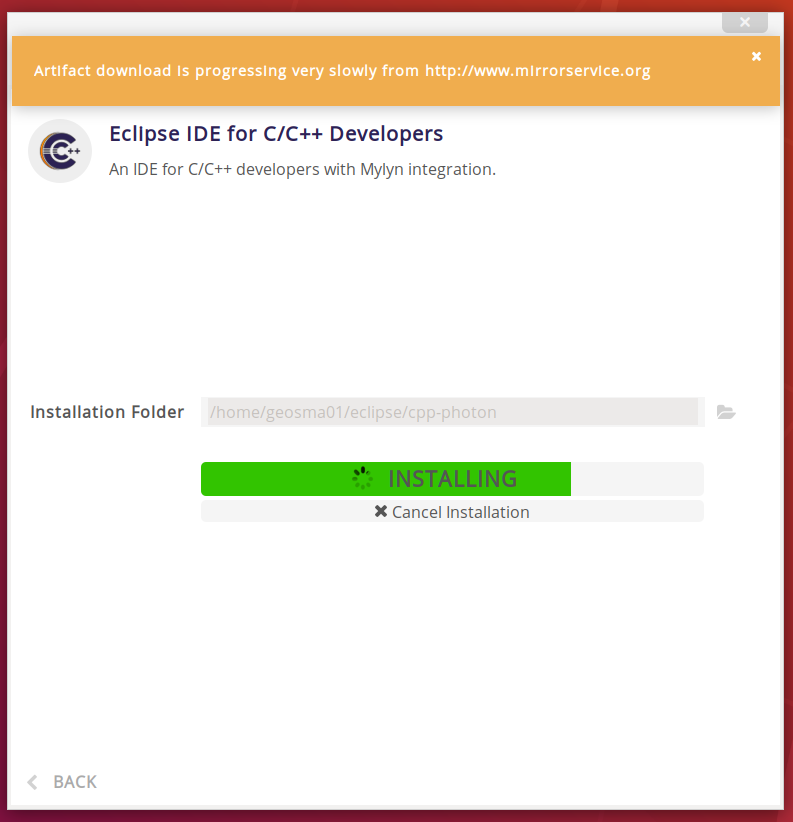
I ran into trouble installing Eclipse as root, so I install it into my own user space: ~/eclipse/cpp-photon
Accept any licences it prompts for:
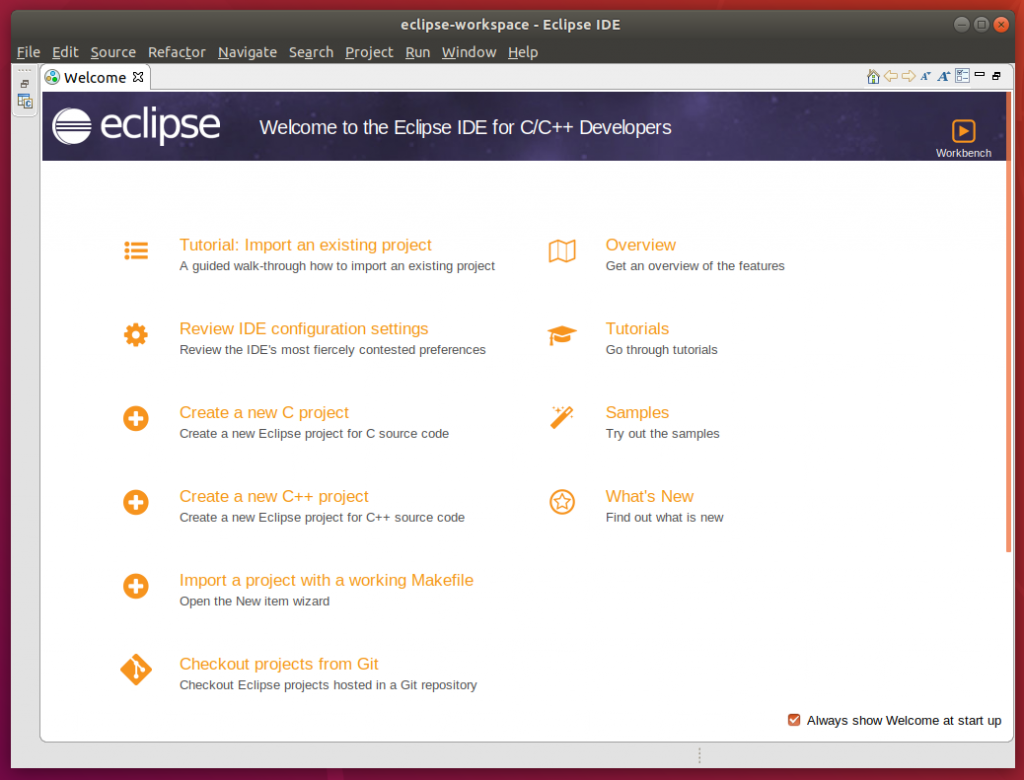
Once the installer has finished, you can start Eclipse by pressing Launch. We’ll make a desktop shortcut in a few moments…
And eventually…
Now we have Eclipse running, we should get ourselves an icon to easily start it.
Creating a Menu Icon
Next we will create a menu shortcut. We will create this using a basic terminal-based text editor (nano). Running the following will open the file:
nano ~/.local/share/applications/eclipse.desktop
Then, copy and paste the following, as you see appropriate – you should change my username (geosma01) to your own at the very least:
[Desktop Entry]
Name=Eclipse CPP Photon
Type=Application
Exec=/home/geosma01/eclipse/cpp-photon/eclipse/eclipse
Terminal=false
Icon=/home/geosma01/eclipse/cpp-photon/eclipse/icon.xpm
Comment=Integrated Development Environment
NoDisplay=false
Categories=Development;IDE;
Name[en]=Eclipse
If all has gone well, you’ll see something like the following inside the menu:
Installing PyDev
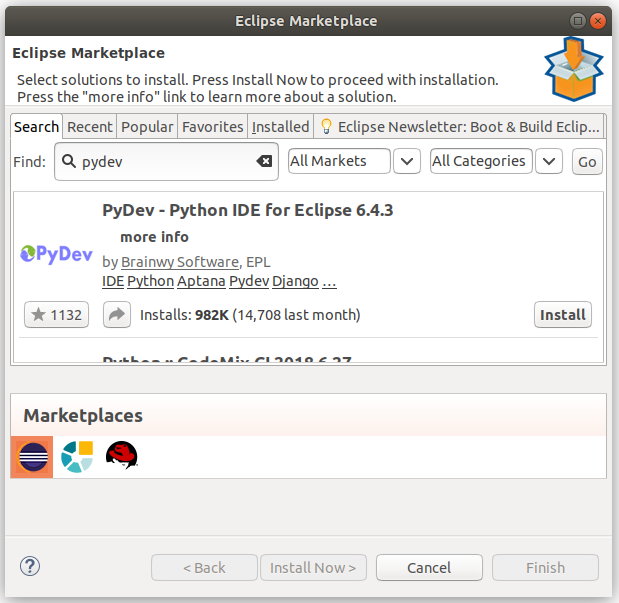
PyDev can be easily installed through the Eclipse Marketplace. From inside Eclipse, click Help on the menu, and select Eclipse Marketplace. You should be presented with the following window. You can then enter “pydev” into the search, and then click Install on the entry shown below:
Confirm your selections, accept the licence conditions, and you’re good to go! Once installed, click on Restart Now and you’re done!
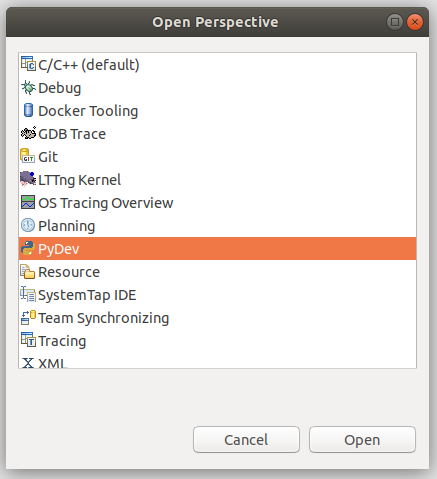
Once restarted, you can open a PyDev Perspective by selecting Window from the menu, selecting Perspective > Open Perspective > Other and selecting PyDev:
You’re ready to go!

